
Blogger Templates
- Sunday, March 22, 2009 - 0 Comments
How to Install Blog Templates?
Everyday so many readers leaving comments asking "How to install xml blogger templates?".
So, to make it easy, here is the complete tutorial on how to install blogger templates
1.First download the template and unzip the file using Winrar or Winzip. After extracting the file you will see a folder named Images( in case if you lost ) and an xml file.
2.Sign in to Blogger dashboard and click on the layout.
3.Here is the important step, after uploading any new Blogger template, all of the previous widgets like your Google adsense ads, text, profile ,poll, ... etc will be lost.
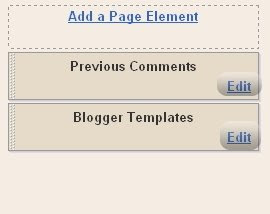
So, to avoid this to happen, in this step click on 'edit' on all the widgets and copy the codes into Notepad.
4.Next, click on the 'Edit HTML' tab
5.You'll see an option to download the current template, so do it!
6.Just below that,there's an option of uploading new template.So, use the Browse button and upload the downloaded xml file.
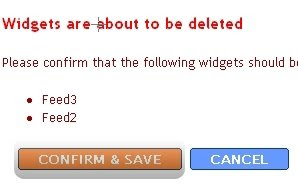
7.Now, a message appear saying that your widgets are about to be deleted.Click on the Confirm & Save.
Now you successfully installed the template !!
Click on the 'Page elements' page now and add the codes that you copied in step3 using the 'Add a Page Element' option, Enjoy!
So, to make it easy, here is the complete tutorial on how to install blogger templates
1.First download the template and unzip the file using Winrar or Winzip. After extracting the file you will see a folder named Images( in case if you lost ) and an xml file.
2.Sign in to Blogger dashboard and click on the layout.
3.Here is the important step, after uploading any new Blogger template, all of the previous widgets like your Google adsense ads, text, profile ,poll, ... etc will be lost.
So, to avoid this to happen, in this step click on 'edit' on all the widgets and copy the codes into Notepad.

4.Next, click on the 'Edit HTML' tab
5.You'll see an option to download the current template, so do it!
6.Just below that,there's an option of uploading new template.So, use the Browse button and upload the downloaded xml file.
7.Now, a message appear saying that your widgets are about to be deleted.Click on the Confirm & Save.

Now you successfully installed the template !!
Click on the 'Page elements' page now and add the codes that you copied in step3 using the 'Add a Page Element' option, Enjoy!


0 Responses to "How to Install Blog Templates?"
Post a Comment